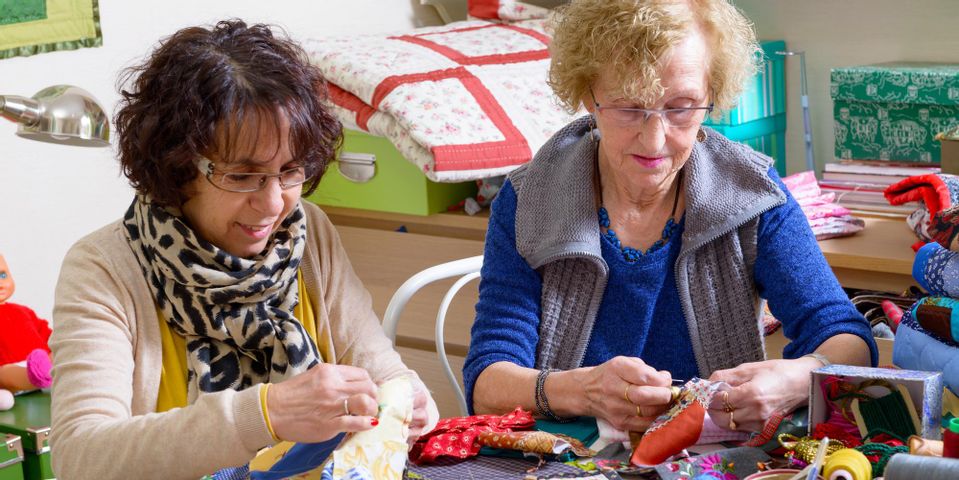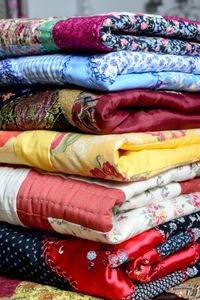
Memory quilts are the perfect way to preserve your most meaningful apparel. From onesies and school uniforms to military garb and concert tees, there’s no limit to what you can include in a memory quilt. For even more ideas, head to your local quilt shop. After stocking up on supplies, take the following steps.
3 Steps to Make a Memory Quilt
1. Gather the Memories
Once you decide which materials to include, start compiling them. Depending on how organized you’ve been and where various items are stored, this could take a while, but enjoy the stroll down memory lane. If you’re unsure whether a particular item will work—ideally you want textiles comprised of 100% cotton—gather it anyway. It’s better to have a huge selection of memories than blank spaces that need filling.
2. Prepare the Scraps
Start by washing the materials, but use care if they're especially old or delicate. Then comes the ironing. Thinner materials like jersey T-shirts will need to be adhered to fusible interfacing for more durability. The interfacing you purchase should come with ironing instructions. Quilt shop experts can also answer any questions you have about preparing the scraps.
3. Cut the Panels
Cutting and piecing the materials is the final step before sewing. Since each panel only has so much space, try to use only the most distinctive portions of the textiles. If this is your first quilt, a square pattern will be the easiest to carry out.
From quilt kits to vibrant fabrics, The Maui Quilt Shop has everything you need to make a beautiful memory quilt. Located in Kihei, HI, this local business staffs talented quilters who will answer all your questions about getting started. Whether you need a quick rundown on basic quilting or patterns for experts, they've got you covered. They even host classes on Hawaiian quilting. To browse some of the products this quilt shop carries, visit their website. To enroll in an upcoming class, call (808) 874-8050.
About the Business
Have a question? Ask the experts!
Send your question

