Reasons to Hire a Painter to Wallpaper Rooms in Your House

Here at T.K. Painting & Decorating, we can do it all. Today, I am going to describe my process of how to apply removable wallpaper murals for your next home improvement project.
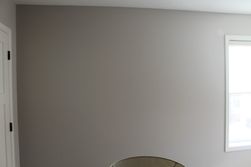
It is important to start any wallpaper project with a clean wall.
- Patch walls where there are imperfections and sand smooth.
- Ensure that the walls are painted, including any patch work that was performed.
- Wipe down the walls with TSP to remove any residue that may affect the adhesion of the Wallpaper.
- If your paint has a sheen to it, it is a good idea to lightly sand your walls to dull the finish.
When installing the paper you will need:
- Sharp utility knife
- Pencil
- Level (small and big)
- Scissors
- Good straight edge for clean lines
Here are some of my tips for applying the wallpaper…
- I like to start on my left and continue to the right
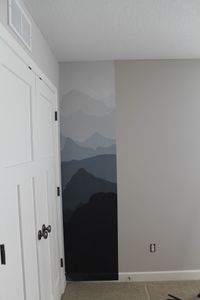
- Make a vertical line using your level that is slightly smaller than the width of your paper.
- Start at the top of the wall and work your way down following your vertical line you made.
- Using your hands smooth the section of paper, and as you go down and remove any air bubbles.
- Once installed take your straightedge and with your utility knife cut the excess paper from the ceiling, walls, and baseboard.
- Get your next piece and install it right next to the others. Do not overlap when installing Mural as it may take away from the scene that is on the paper
- Continue on with the remaining pieces until you have reached the end of the wall.
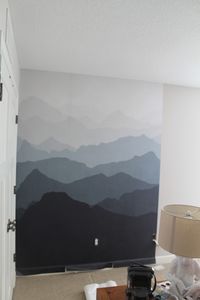
If you are interested in removing existing wallpaper in your home to work on a new interior painting project or to put up a neat wallpaper such as the one in this picture, call me today at  (952) 210-5963 to get started on your next home improvement project!
About the Business
BUSINESS
Exterior Painters
T.K. Painting & Decorating, LLC
9350 207th St W, Lakeville, MN 55044
CALL US+1 (952) 210-5963
CALL US+1 (952) 210-5963
