Stillwater's Experts Explain How to Perform an Oil Change

Though it’s always a good idea to bring your vehicle in for a professional oil change, you might not have the time to do so. That’s why the experts at Stillwater Auto Clinic, based in Minnesota, are happy to explain the basic steps for changing your own oil. These car repair specialists believe that the more you know about caring for your own vehicle, the less time you’ll have to spend in and out of auto shops.
How To Handle Your Own Oil Change
First of all, if you’re not comfortable working on cars, you should not try to perform an oil change on your own. That said, if you do have some car repair experience, the steps below will guide you through the basics of this process.
Step 1: Prep The Vehicle
Before doing any work, make sure the car is parked on a level surface, with the engine off and the emergency brake engaged.
Step 2: Drain The Oil
 Open the hood and remove the dipstick to help the oil drain more easily. Again, once you’re certain the vehicle is securely parked, crawl under it and place an empty container under the drain plug. Using a box-end wrench, loosen the drain plug and wait a couple of minutes until all the oil drains out. Once this is done, reinstall the drain plug.
Then, move to the oil filter. You may want to use a new container for this, as the oil you just drained could still be hot. Use an oil wrench to loosen the filter and let the oil drain.
Step 3: Add New Oil
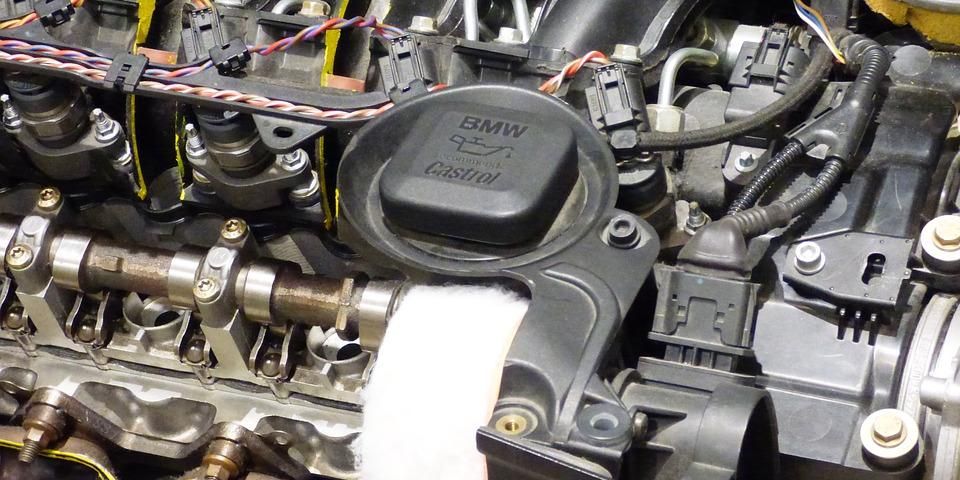
Once the oil has fully drained, install a new filter according to the directions on the box and locate the oil cap under the hood. Remove it and pour in the oil using a funnel. After you’re done, leave the car idling for 30 seconds to check for leaks.
If you’re not entirely comfortable handling your own oil change, let the professionals tackle this job. When it comes to cars, the team at Stillwater Auto Clinic always delivers the best service. Contact them online for more information or call (651) 351-7188.
About the Business
Have a question? Ask the experts!
Send your question

